
Quick start guide
Your Dine-A-Chook chick heat plate
Warmth from above, the way a hen does it. Set it up in ten minutes, then let the chicks tell you the rest. This is the guide that came in the box, with more photos.
15 W · 30 W · 60 W
Independently certified to Australian standards. Read this guide before first use.
On this page: In the box · Fit the legs · First use · Read the chicks · Sizes and care · Safety and warranty · Need a hand?
In the box: two things, and the guide
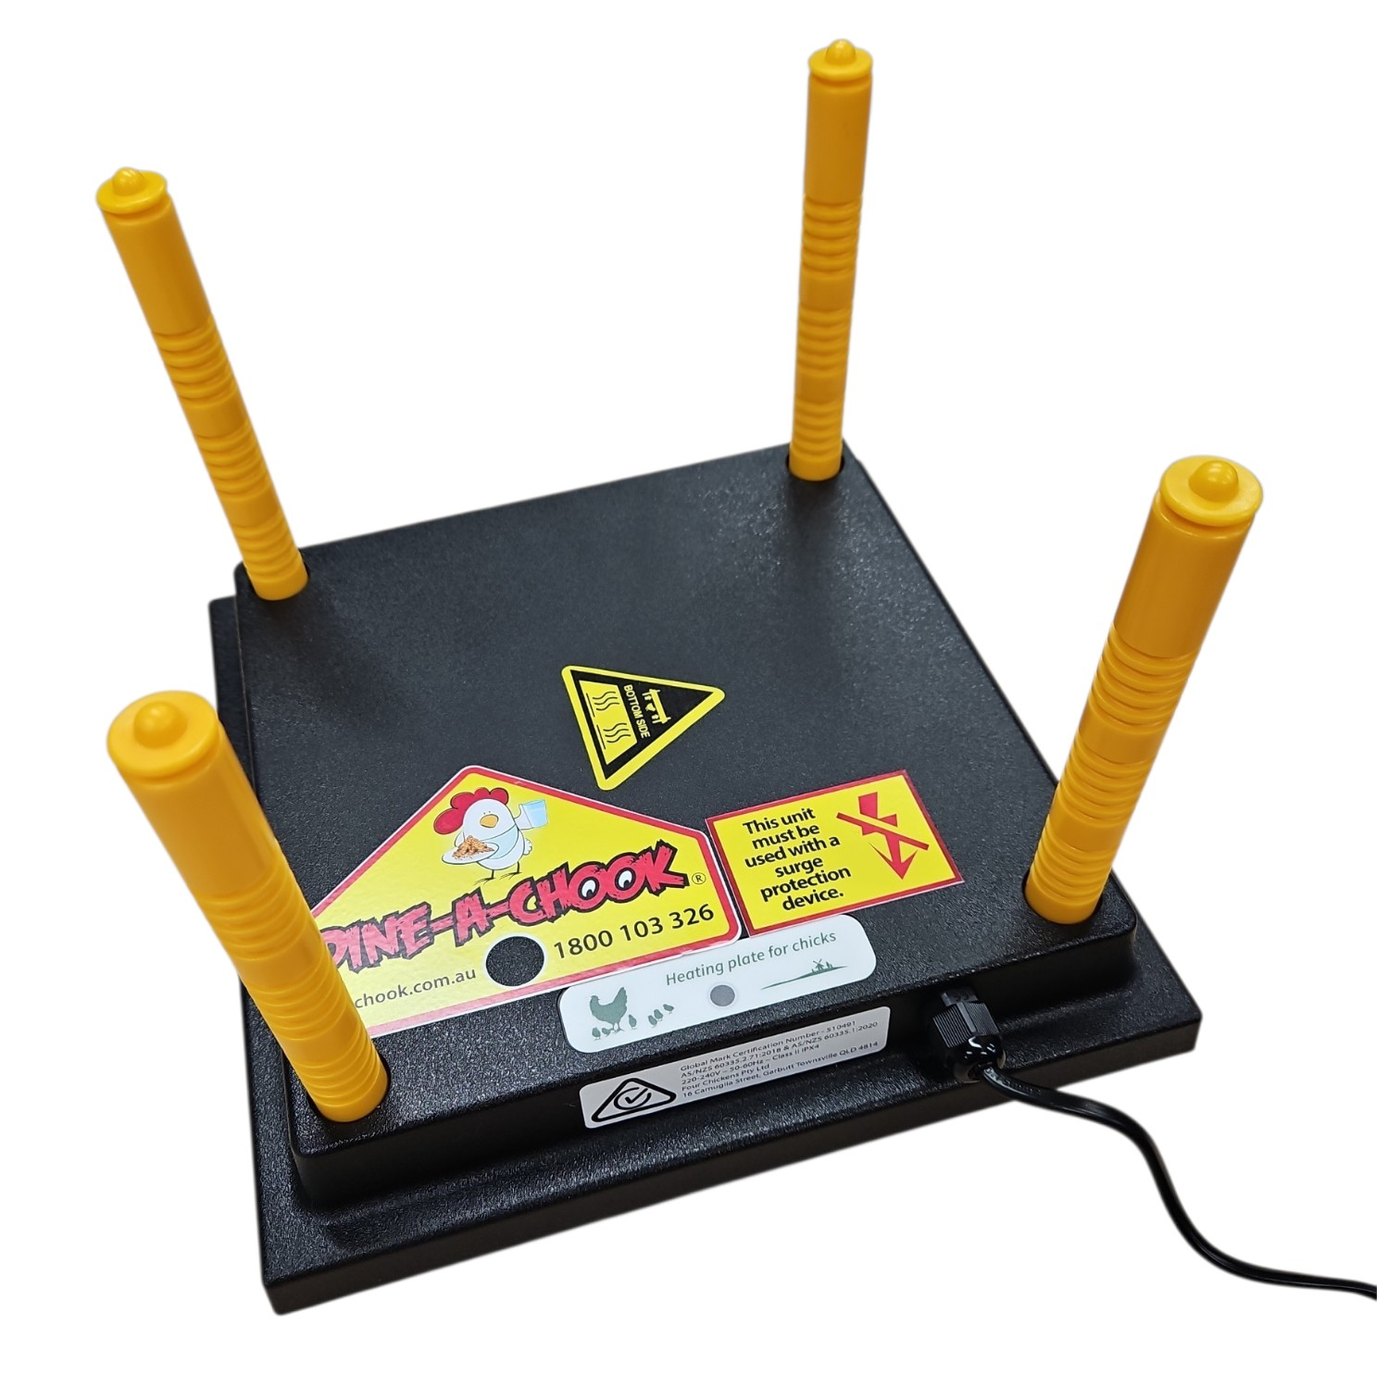
- The heat plate, with the cord and Australian plug attached.
- Four yellow legs, telescopic, so the height adjusts as the chicks grow.
- The printed guide. The acrylic cover is sold separately and is the only thing that may sit on the plate.
Durable ABS body, fire-resistant insulation, temperature and resistance fuses.
Before you start
Always plug the heat plate into a surge protection device (a surge protector). The plate carries a safety fuse that blows on a mains spike, so the plate stops rather than overheats. A surge protector absorbs that spike before it reaches the plate; without one, an ordinary storm surge will blow the fuse. The fuse cannot be repaired, and the warranty applies only when a surge protector was in use.
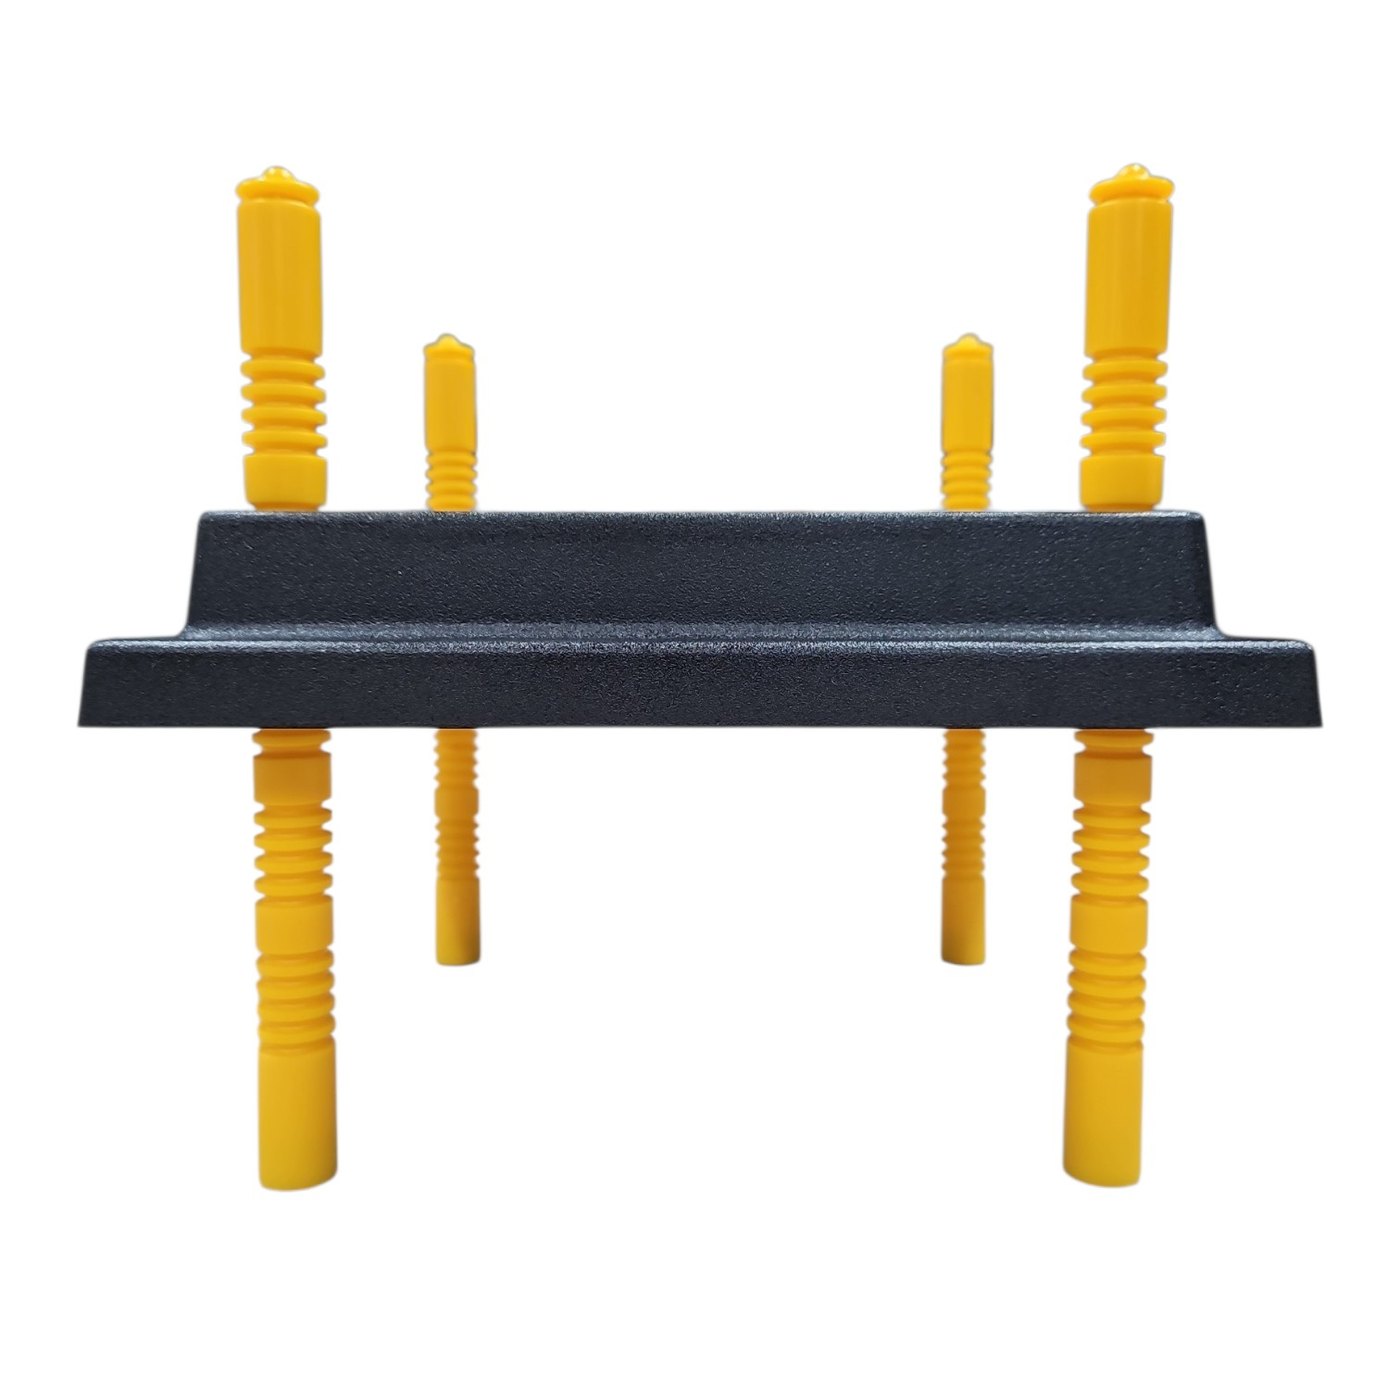
Certified for Australia. This heat plate is independently certified to the Australian electrical safety standards AS/NZS 60335.2.71:2018 (heating appliances for rearing animals) and AS/NZS 60335.1:2020. Global-Mark certificate 510491. 220–240 V, 50–60 Hz, Class II, IPX4. Responsible supplier: Four Chickens Pty Ltd, 16 Camuglia Street, Garbutt QLD 4814. The label is on the underside of the plate.
Where it goes
Indoors or in a draught-free shed, on a dry, level surface. Most people put it in a corner of the brooder, but anywhere works as long as at least two sides, including one long side, stay fully open so the plate can breathe. If it sits against a wall or in a corner, push it right up against it so there is no gap a chick can get stuck in. Nothing on top except the Dine-A-Chook acrylic cover.
About the stickers on the box
Every plate leaves us with the surge-protector notice stickered across the box, so you will have cut through it to open it. The same notice is on the plate itself. It is there so nobody misses it: a fuse blown without a surge protector is not a fault in the plate, and it is not covered.
Suits chicks, bantams, quail, ducklings and goslings. Use in rooms above 10 °C; early brooding is an indoor job.
Setting up: fit the legs first
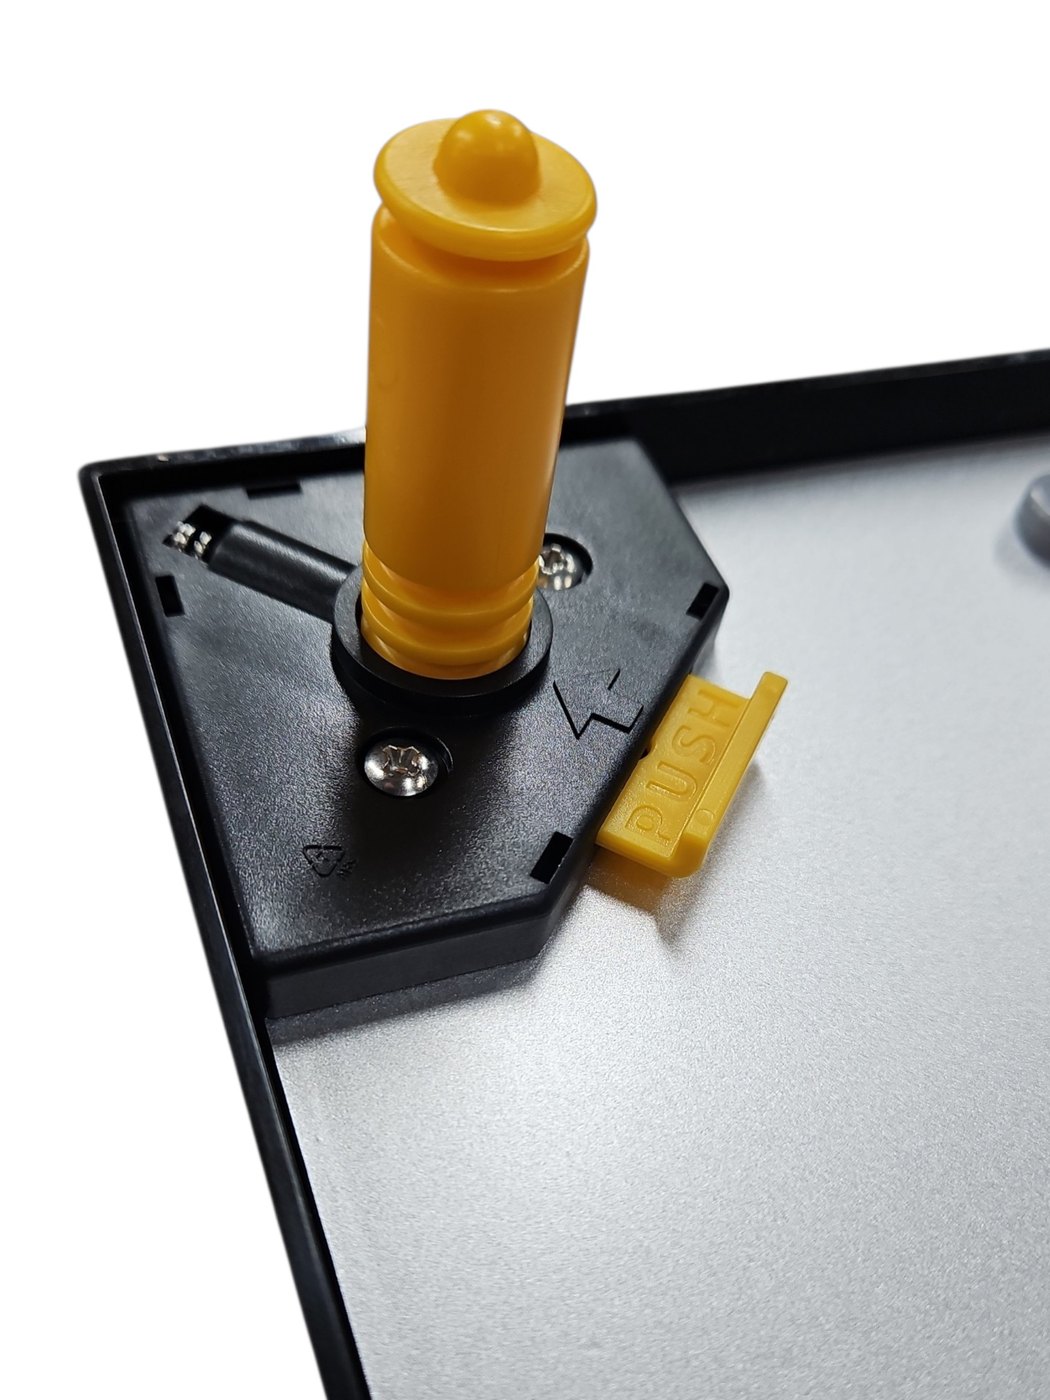
- Lay the plate on its side. Each corner has a socket with a yellow slide marked PUSH.
- Press the slide in and push a leg into the socket, round end first, to the height you want. The legs have a right way up: the black rubber non-slip pad goes at the bottom, on the floor.
- Let the slide go. A click means the leg is locked. No click? Move the leg a little until you hear it.
- Do all four, then stand the plate up and check every leg is locked before it goes near a chick.
Starting height
The legs adjust from about 5 cm to 15 cm. For day-olds set the plate low, so the underside is just above their backs and they have to duck slightly to get under. The minimum is 3 cm above the litter, never lower.
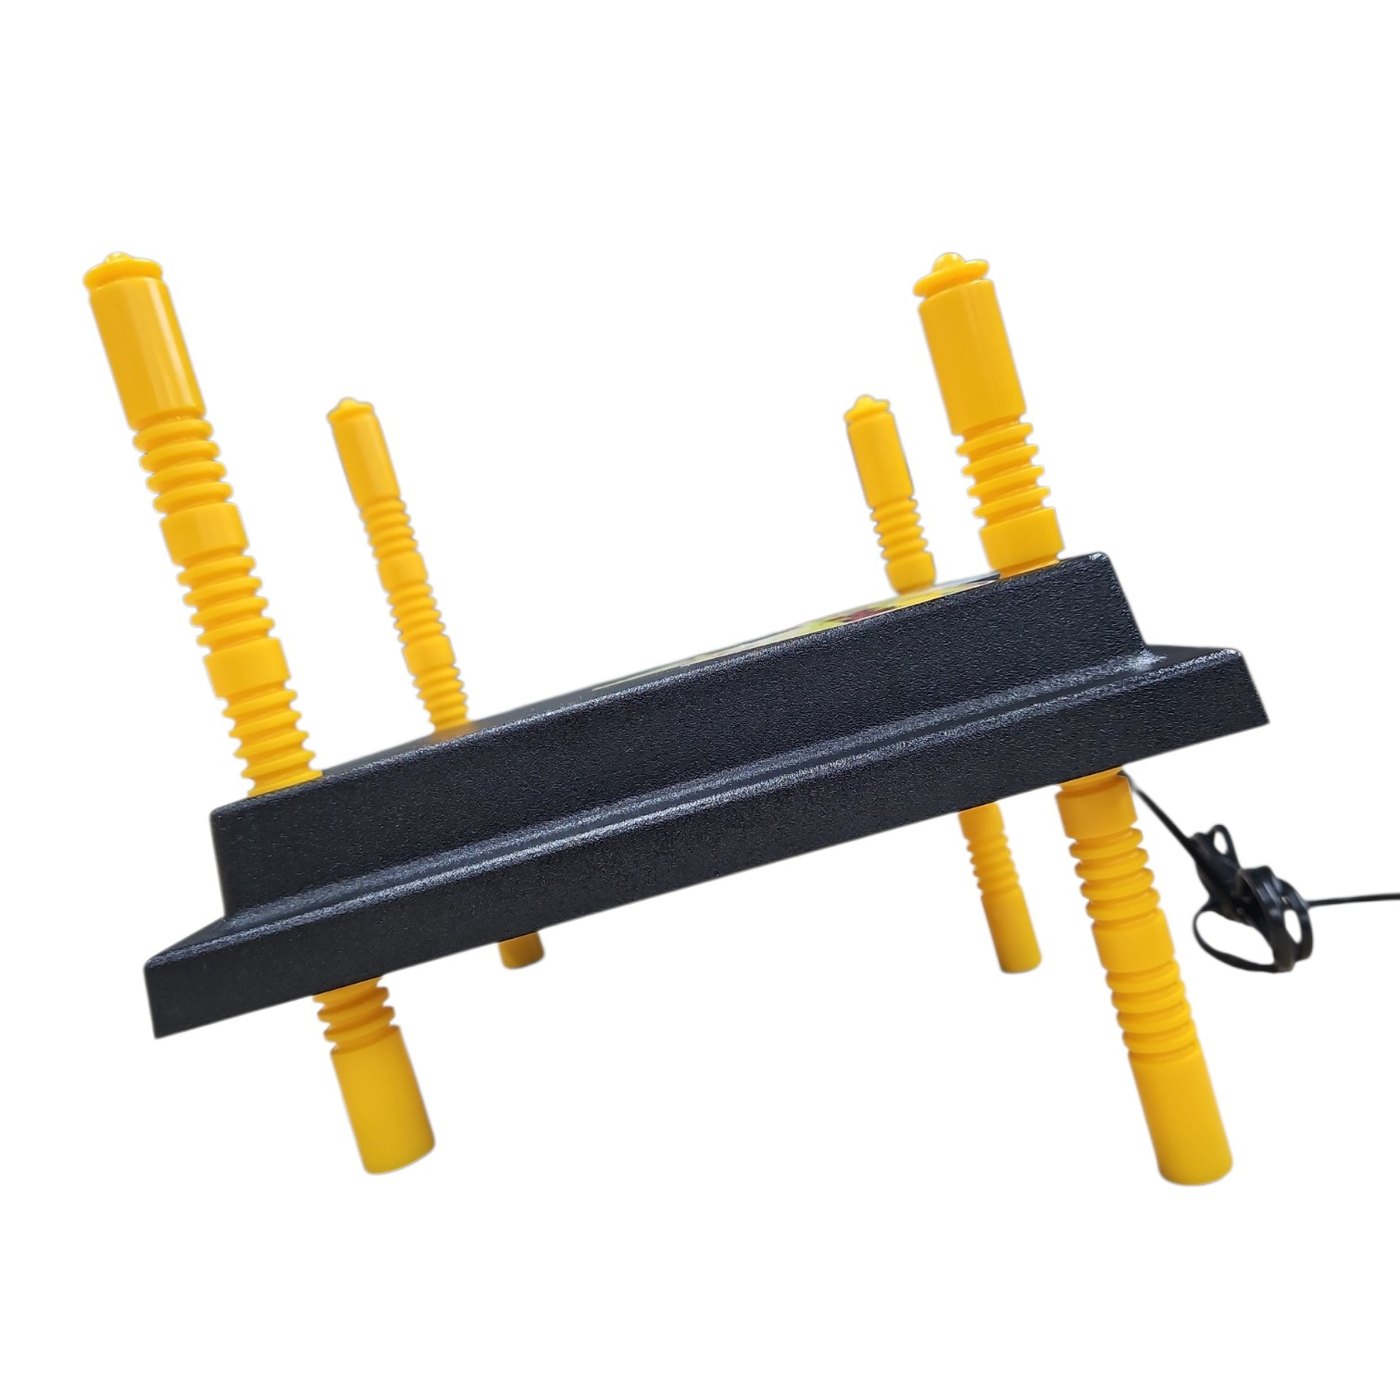
A tip worth trying
Set the two legs on one side a notch lower than the other two so the plate slopes. It is not essential, but it means the chicks are not held at one height: each one can sit further in or further out and regulate its own warmth.
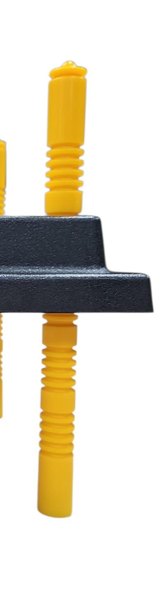
Lost or broken a leg? Replacement legs are sold as a set of four, and they fit every size of plate. Never run the plate on fewer than four.
Never use the plate without its legs, and never open it. There are no user-serviceable parts inside.
First use: plug in, wait an hour, then chicks
- Place the plate on its legs in the brooder, level and the right way up, on a dry surface.
- Plug the cord into a surge protection device, and that into the wall. Never straight into the wall socket.
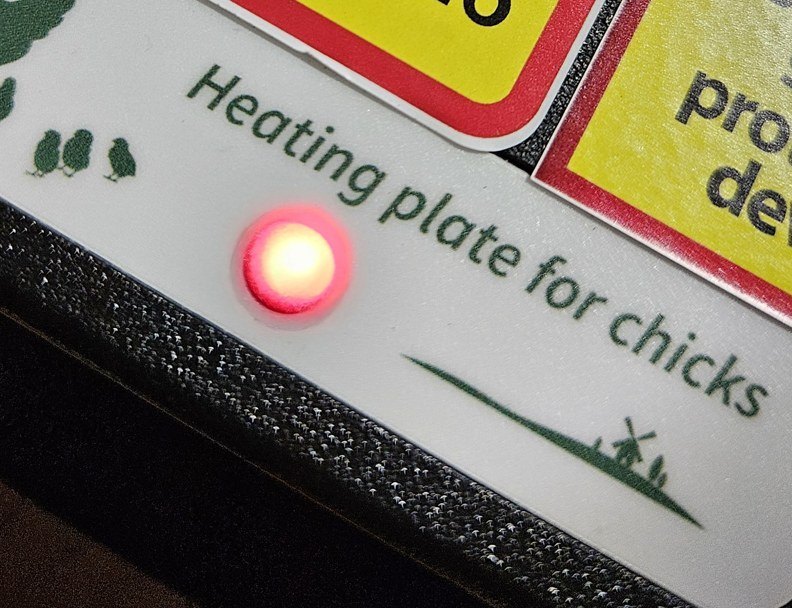
- The red light comes on while the plate warms up. Give it about 60 minutes to reach full temperature.
- Let the chicks in near the plate. Show them under it once if they hesitate. They work it out fast.
Why a surge protector
Certification for Australia required a safety fuse in the plate. A mains spike blows that fuse, so the plate stops rather than overheats. The fuse is not repairable, so a surge protector is what keeps your plate alive through a storm.
A power board is not a surge protector
Most cheap power boards have overload protection only, which does nothing in a storm. You need one that says surge protection or surge protected on it, either a power board or a plug-in adaptor. Any hardware store or supermarket sells them.
Look for the words on the device itself, not just the packaging.
Dry environment only. Never immerse the plate. If the cord is damaged, stop and contact us: a new cord must be fitted by a qualified person.
Read the chicks, not a thermometer
The height is right when the chicks say so. Four things to look for:
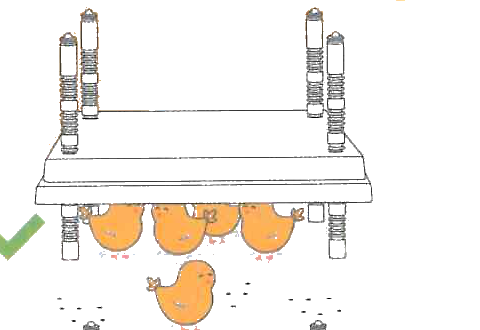
✓ Just right
Calm and quiet under the plate. They pop out to eat and drink, then go back under. No cheeping, no huddling.
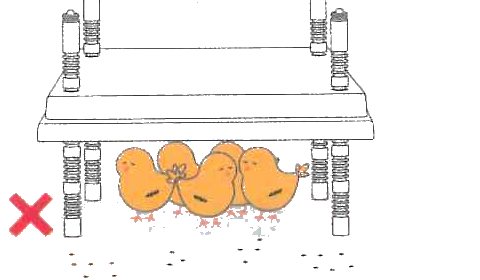
✗ Too high
Under the plate all the time but restless, standing, huddled together, cheeping, hardly coming out to eat. Lower it and look again.
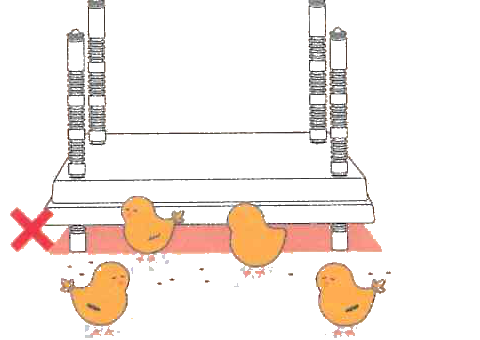
✗ Too low
They struggle to get under, or they will not stay under and huddle in a corner away from it. Raise it and look again.
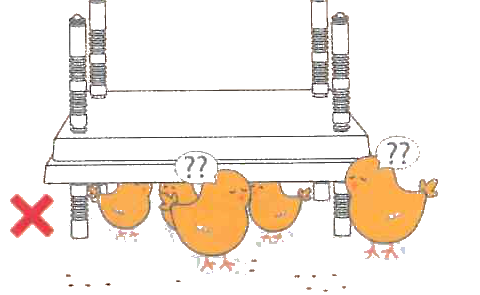
✗ Outgrown
They have grown into it. Chicks grow fast, so raise the plate about once a week, a notch at a time.
How warm is it under there?
Warm, not hot. A heat plate does not heat the room. It warms the chicks that sit under it, the way a hen does. You do not need a thermometer. The chicks are the thermometer, and the four pictures above show you how to read them.
The weekly routine
Check the height every few days and raise it as they grow. If in doubt, lower is safer than higher in the first week, and higher is safer than lower after that. When they are fully feathered, usually five to six weeks, they no longer need it.
Corner or wall: no gap. A chick that squeezes behind the plate cannot always get back.
Which plate, and keeping it clean
| Plate | Size | Chicks | Cover |
|---|---|---|---|
| 15 W | 25 × 25 cm | up to 20 | 25 × 25 acrylic |
| 30 W | 35 × 35 cm | up to 30 | 35 × 35 acrylic |
| 60 W | 45 × 60 cm | up to 50 | 45 × 60 acrylic |
Running more chicks than the plate is rated for means some cannot get under it. If in doubt, run two plates rather than crowd one.
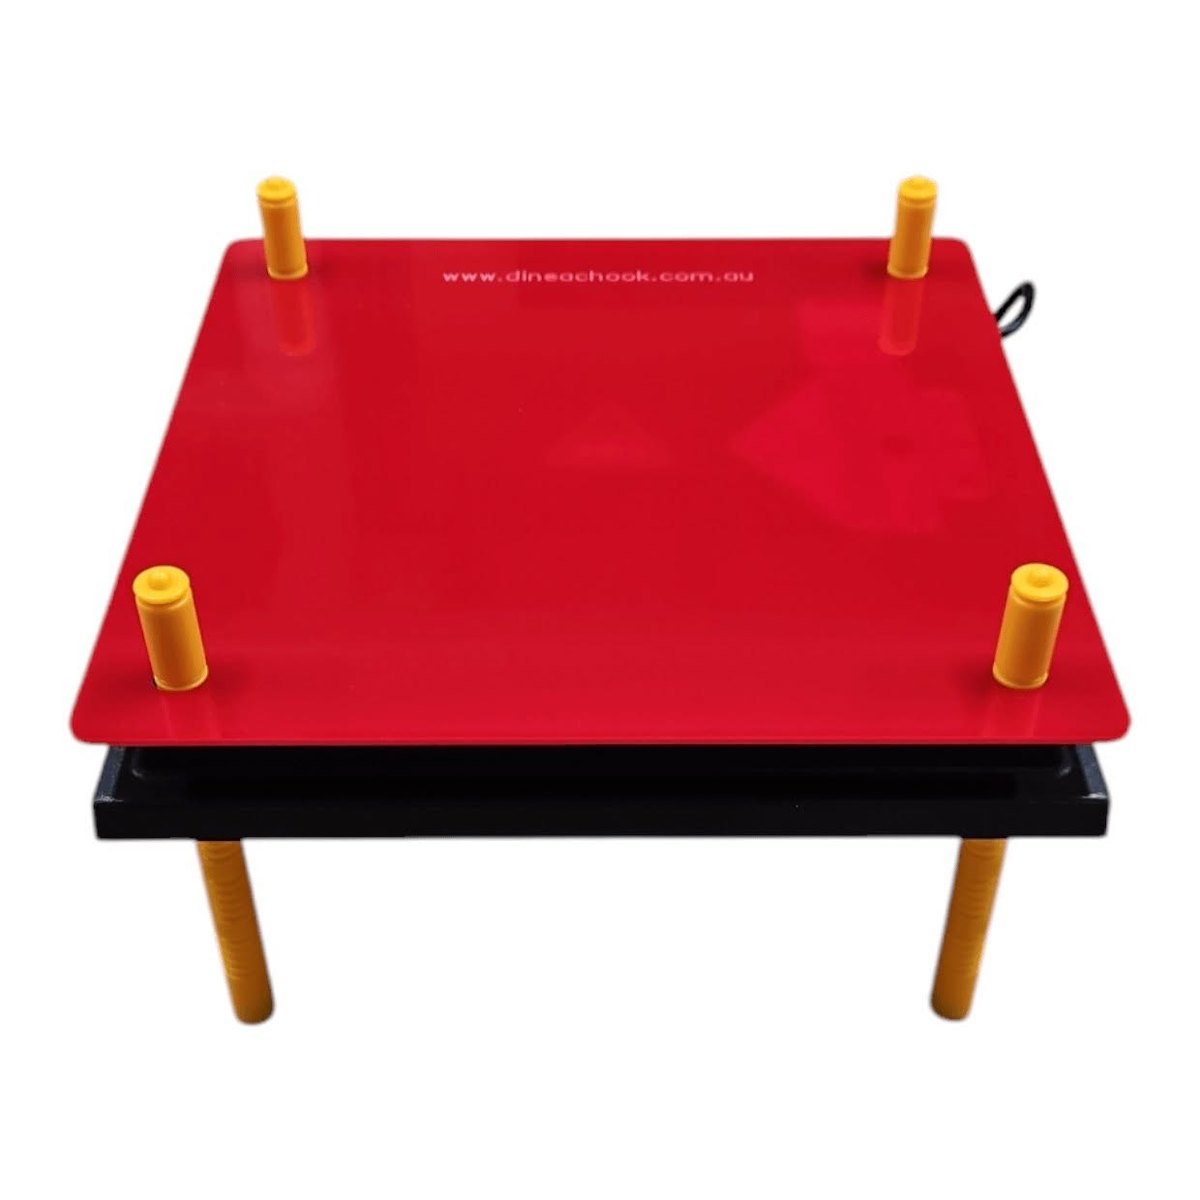
The acrylic cover
Chicks jump on the plate and leave droppings, and a plate crusted with droppings is a plate you stop cleaning. The cover is a sheet of red acrylic, cut and finished in our own Townsville workshop to fit each plate exactly. It sits on top, catches the mess, and lifts off to wipe clean in seconds. It is the only thing that may sit on the plate. Three sizes to match the three plates.
Cleaning
- Unplug first. Wipe with a damp cloth. Dried droppings lift with a plastic scraper.
- Never submerge the plate or hose it. It is rated for splashes (IPX4), not for washing.
- Between hatches, store it clean and dry, legs removed.
A plate that has been dropped, cracked or wet inside should not be used. Contact us.
Safety: please read before first use
- Use only in a dry environment and only for warming and rearing chicks and other young poultry.
- Connect only to a properly installed 220–240 V supply, through a surge protection device, and only once the plate is standing level on all four legs, the right way up.
- Minimum height 3 cm above the litter at all times. Never use the plate without its legs.
- Never open, modify or repair the plate, and never immerse it in liquid. A blown safety fuse is not repairable.
- Keep at least two sides, including one long side, fully open. Never place anything on the plate other than the Dine-A-Chook acrylic cover.
- If the supply cord is damaged, stop using the plate and contact us. It must be replaced by a qualified person.
- Not for use by children or by persons with reduced physical, sensory or mental capabilities. Keep children from playing with it.
Warranty
Your plate is covered for 12 months from purchase against faults in materials and workmanship. To claim, contact Dine-A-Chook with your receipt and a description of the fault, and we will tell you what to do next.
The warranty does not cover a plate that has been opened, modified, dropped, immersed, used without legs or used for anything other than rearing birds. A blown fuse is covered only if the plate was used on a surge protection device, and registering your plate records that for you.
Two minutes, and your surge protector is on record for the warranty.
Need a hand? We keep chooks too. Ring us.
Most questions about a heat plate are answered above: watch the chicks and move the plate. If something still is not right, call 1800 103 326 in Queensland business hours or email support@dineachook.com.au, and a person who has raised chicks under one of these will answer.
What else the chicks need
- Chick starter crumble for the first weeks, then pullet grower, then layer feed at point of lay. What to feed chickens at every age has the sequence.
- Clean water they cannot foul. Chicks tip open dishes and wet litter under a heat plate is the one thing to avoid.
- A draught-free brooder with the plate in one corner and food and water in another, so they move between them.